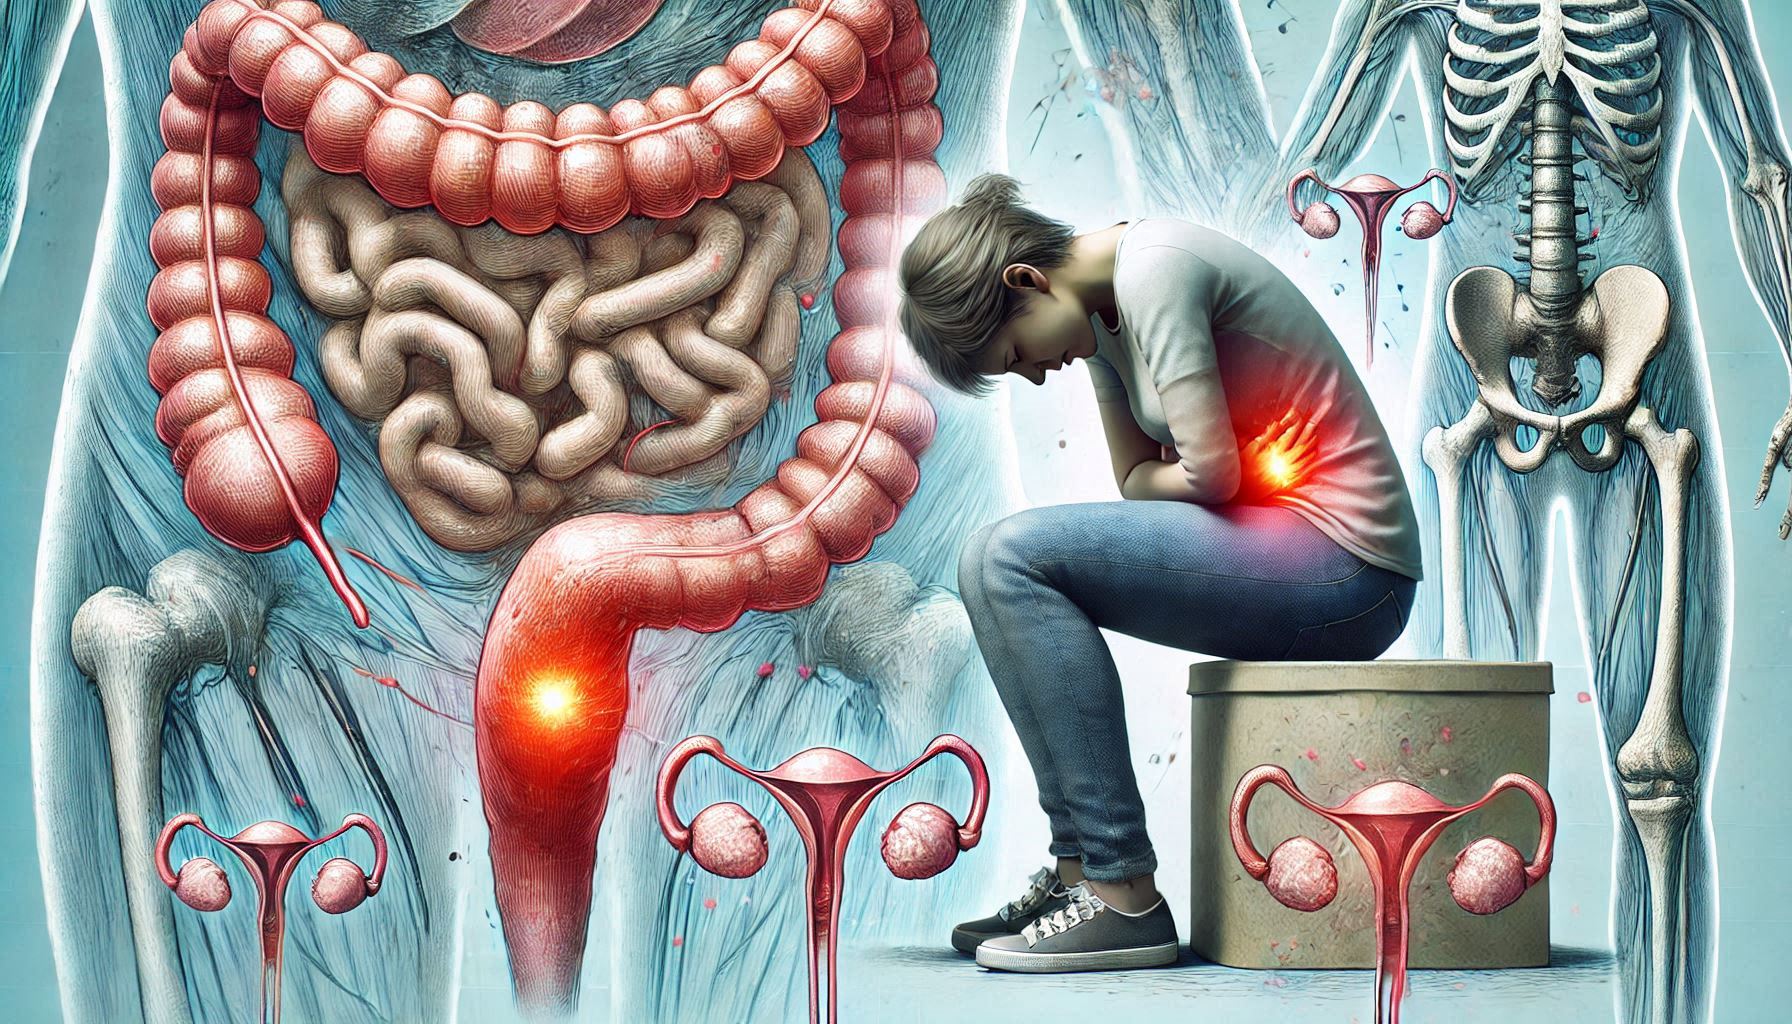
Banish the Burn: A Complete Guide to Preventing and Reducing Sciatica Pain Author: ItHurts.com A Comprehensive Talk on Sciatica Pain Understanding the Basics: Sciatica is a common and often debilitating condition that can affect anyone, disrupting daily life and diminishing quality of life. This comprehensive guide dives deep into understanding sciatica, its causes, and practical ways to prevent and reduce the pain. Let’s explore the steps to take control of sciatica pain and reclaim your well-being. Description of Sciatica Pain Sciatica pain typically arises from irritation or compression of the sciatic nerve, which runs from the lower back down through the hips, buttocks, and each leg. The pain can vary widely, presenting as: Sharp, shooting pain: Often felt in the lower back, buttocks, and down one leg. Burning sensation: A fiery discomfort that follows the nerve’s path. Numbness or tingling: Sensations similar to pins and needles in the leg or foot. Weakness: In severe cases, the affected leg may feel weak or heavy. The intensity of the pain ranges from mild discomfort to severe, debilitating pain, often worsened by prolonged sitting, sudden movements, or sneezing. Common Causes of Sciatica Several factors can contribute to sciatica, including: Herniated or slipped disc: The most common cause of sciatica, where a spinal disc bulges out and presses on the nerve. Spinal stenosis: Narrowing of the spinal canal, which compresses the sciatic nerve. Piriformis syndrome: Tightening or spasms of the piriformis muscle, located near the sciatic nerve, causing compression. Spondylolisthesis: A condition where one vertebra slips forward over another, pinching the nerve. Trauma or injury: Accidents or falls that impact the spine or pelvis can trigger sciatica. Tumors or infections: Rare causes, where growths or infections affect the sciatic nerve. Physiological and Anatomical Reasons Behind Sciatica Sciatica pain is rooted in several underlying physiological and anatomical factors: Nerve Compression: When the sciatic nerve is compressed by a herniated disc, bone spur, or tight muscle, it triggers pain and inflammation. Muscle Strain: Overexertion or improper movement can strain muscles, indirectly affecting the sciatic nerve. Degenerative Disc Disease: Aging-related wear and tear on spinal discs can lead to nerve irritation. Poor Posture: Misalignment of the spine increases stress on the lower back and sciatic nerve. Presentation of Sciatica Pain Sciatica pain often presents in predictable patterns: Unilateral pain: Pain typically affects one side of the body, corresponding to the affected nerve root. Radiating discomfort: Pain starts in the lower back or buttocks and radiates down the leg. Intermittent symptoms: Pain can come and go, often influenced by posture and activity. Worsened by prolonged sitting: Sitting compresses the lower back, exacerbating the pain. Scientific Research on Sciatica Pain Scientific studies provide valuable insights into sciatica management: Exercise therapy: A 2016 review in The Spine Journal concluded that regular physical therapy is effective in reducing sciatica pain and improving mobility1. Yoga for sciatica: A 2017 study published in Pain Medicine found that yoga significantly reduced chronic back pain in patients with sciatica2. Acupuncture efficacy: Research in The Journal of Pain (2019) highlighted acupuncture’s role in reducing sciatica pain intensity and improving quality of life3. Actionable Steps for Preventing Sciatica 1. Maintain Good Posture Sit with feet flat on the floor, back straight, and shoulders relaxed. Use ergonomic chairs with lumbar support. 2. Regular Exercise Strengthen core and back muscles with activities like swimming, Pilates, or walking. Incorporate flexibility exercises to prevent muscle tightness. 3. Ergonomic Workstation Setup Ensure your computer screen is at eye level. Use a standing desk or take frequent breaks to stretch. 4. Lift Properly Avoid bending at the waist; instead, bend your knees and use your legs to lift heavy objects. 5. Stress Management Practice mindfulness or meditation to reduce muscle tension linked to stress. Treatment and Relief for Existing Sciatica Pain Exercises and Stretches Engaging in targeted exercises and stretches can alleviate sciatica by reducing nerve pressure and improving flexibility: Knee-to-chest stretch: Lie on your back, pulling one knee toward your chest. Hold for 20–30 seconds and repeat on the other leg. Piriformis stretch: Sit on the floor, cross one leg over the other, and gently pull the knee toward the opposite shoulder. Child’s pose: Kneel on the floor, extend your arms forward, and stretch your back. Self-Massage Techniques Using tools like a foam roller or tennis ball to massage the lower back and gluteal muscles can relieve tension in the piriformis muscle and reduce nerve irritation. Holistic Approaches Yoga: Poses like Downward Dog and Cobra stretch can strengthen the core and reduce pain. Acupuncture: Stimulating specific points may help alleviate nerve pain. Heat and cold therapy: Alternating between ice packs and heat pads can reduce inflammation and improve circulation. Medical Treatments Nonsteroidal anti-inflammatory drugs (NSAIDs): Over-the-counter medications like ibuprofen can reduce pain and inflammation. Physical therapy: Guided sessions strengthen muscles and improve spinal alignment. Epidural steroid injections: For severe cases, injections reduce inflammation around the nerve. Challenges to Overcome Despite these advancements, several challenges remain: – Cost and Accessibility: Many emerging therapies, such as stem cell treatments and advanced neuromodulation devices, are expensive and not widely available. – Long-Term Efficacy: While initial results are promising, long-term studies are needed to confirm the safety and effectiveness of these treatments. – Regulatory Hurdles: Approvals for new drugs and therapies can take years, delaying patient access to potentially life-changing treatments. A Call to Action: Advocating for Progress The journey toward better treatments for diabetic neuropathy pain is far from over. However, the pace of innovation offers hope for millions of individuals seeking relief. Patients and caregivers can play an active role by: – Staying informed about emerging therapies. – Advocating for increased funding for neuropathy research. – Participating in clinical trials to accelerate the development of new treatments. For healthcare providers, adopting a multidisciplinary approach that incorporates these innovations can significantly improve patient outcomes. Final Thoughts: The evolving landscape of diabetic neuropathy treatment is marked by optimism and innovation. From groundbreaking pharmaceuticals and nerve stimulation technologies to regenerative medicine and beyond, these emerging
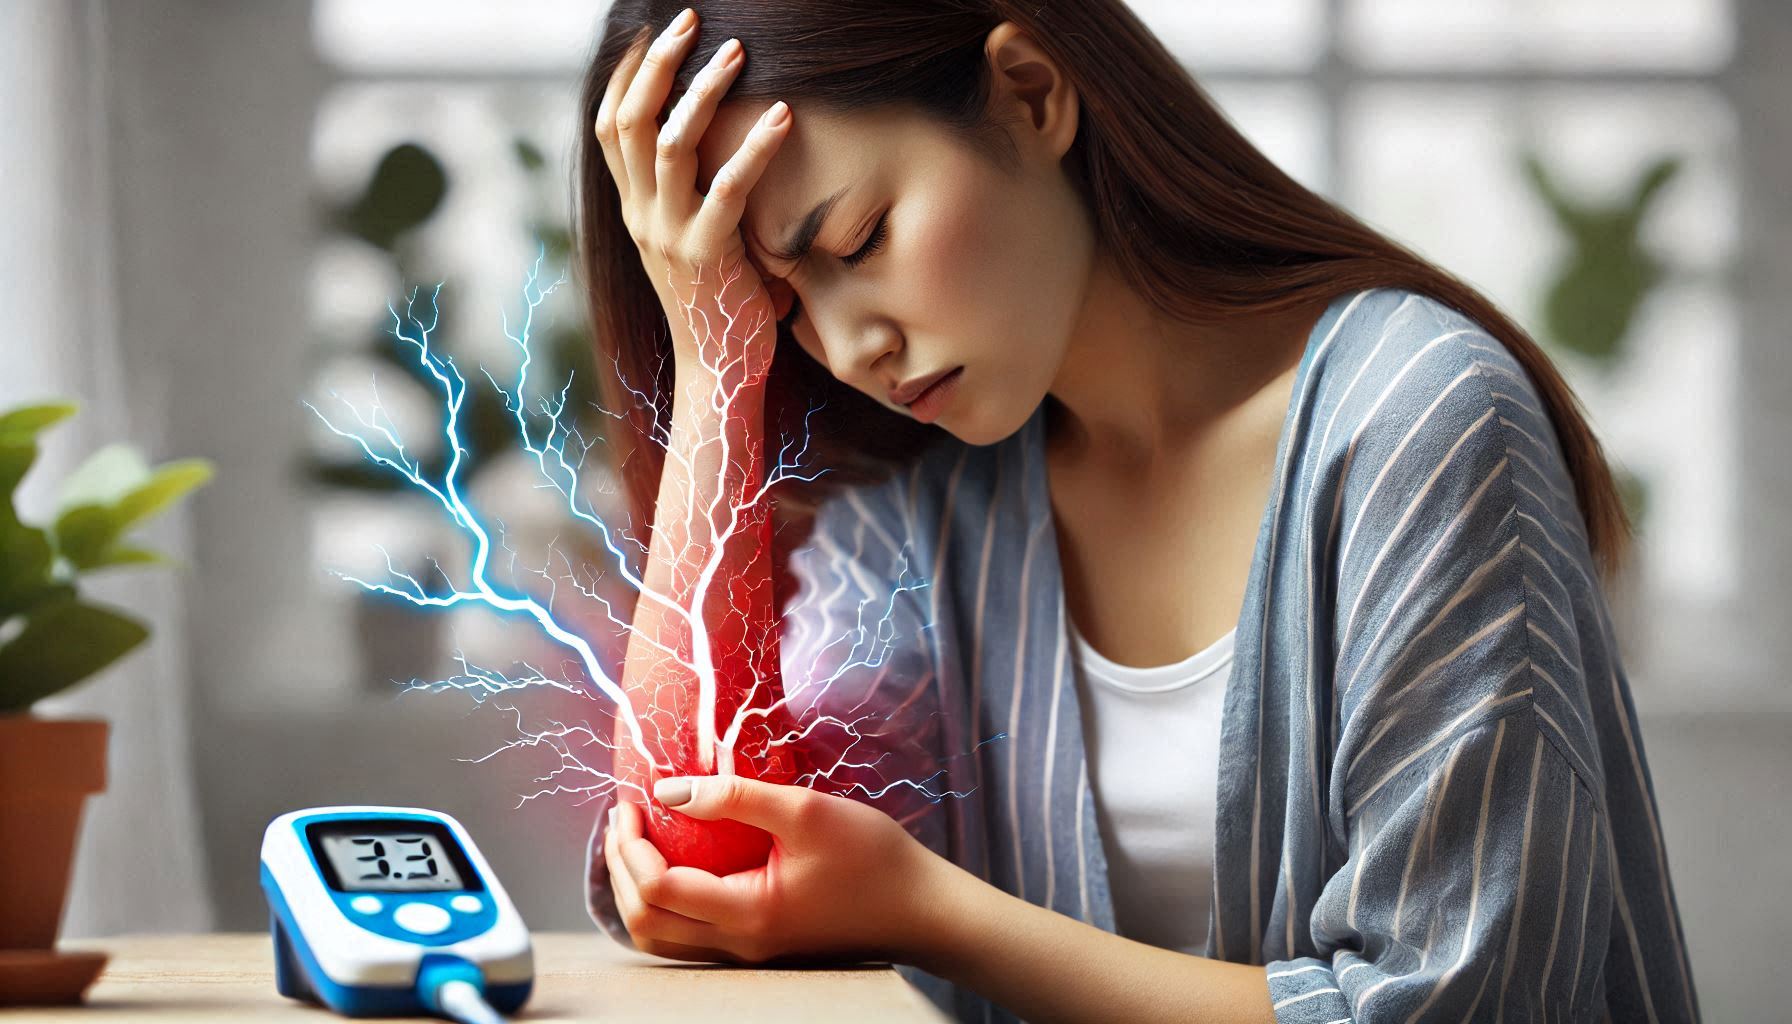
Pioneering Relief: Emerging Therapies for Diabetic Neuropathy Pain Author: ItHurts.com A Comprehensive Talk on Diabetic Neuropathy Pain Understanding the Basics: Living with diabetic neuropathy often means navigating the unrelenting challenges of chronic pain, tingling, and numbness. Affecting nearly 50% of individuals with diabetes, this condition significantly impacts quality of life and remains one of the most difficult complications of diabetes to manage. For decades, treatment options have largely focused on symptom management, leaving patients and researchers yearning for more innovative, effective solutions. The Current Landscape: Where We Are Now Diabetic neuropathy pain stems from nerve damage caused by prolonged high blood sugar levels. Standard treatment protocols typically involve: – Medications: Including antidepressants (amitriptyline, duloxetine), anticonvulsants (gabapentin, pregabalin), and pain relievers like NSAIDs or opioids in severe cases. – Lifestyle Modifications: Maintaining optimal blood glucose levels and adopting a healthy lifestyle can prevent further nerve damage. – Alternative Therapies: Acupuncture, physical therapy, and topical treatments like capsaicin. While these options can help mitigate symptoms, they often fall short of providing complete relief or addressing the underlying causes of neuropathy. A New Wave of Pharmaceuticals Recent pharmaceutical innovations aim to target the root causes of diabetic neuropathy pain rather than just masking symptoms. Below are some of the most promising candidates: a. Sodium-Glucose Cotransporter-2 (SGLT2) Inhibitors Originally developed to manage blood sugar in diabetes, SGLT2 inhibitors like dapagliflozin are showing promise in mitigating neuropathy symptoms. Studies suggest these drugs may protect nerves by reducing inflammation and oxidative stress associated with high glucose levels. b. TRPV1 Antagonists Transient Receptor Potential Vanilloid 1 (TRPV1) channels play a critical role in pain perception. Emerging drugs targeting these channels aim to block pain signaling at its source without the side effects of traditional pain medications. Early clinical trials are yielding encouraging results. c. Gene Therapy Gene therapy represents one of the most revolutionary approaches, aiming to correct the biological dysfunctions causing nerve damage. Researchers are investigating therapies to enhance nerve regeneration or increase the production of neuroprotective proteins like insulin-like growth factor-1 (IGF-1). d. Omega-Conotoxins Derived from cone snail venom, omega-conotoxins are under investigation for their ability to block calcium channels involved in pain transmission. These peptides could provide an alternative to opioids, with a much lower risk of addiction. Nerve Stimulation: Harnessing the Power of Technology Technology is playing an increasingly significant role in treating diabetic neuropathy. Neuromodulation techniques, in particular, are gaining traction as non-invasive or minimally invasive methods to alleviate pain. a. Transcutaneous Electrical Nerve Stimulation (TENS) TENS devices deliver low-voltage electrical currents to nerves, interrupting pain signals and promoting natural pain relief. Portable and accessible, these devices are a popular adjunctive treatment, with newer models offering targeted settings for diabetic neuropathy. b. Spinal Cord Stimulation (SCS) SCS involves implanting a device that delivers electrical pulses to the spinal cord. These pulses block pain signals from reaching the brain. While traditionally used for other chronic pain conditions, recent trials show promise for severe diabetic neuropathy cases. c. Peripheral Nerve Stimulation (PNS) PNS works similarly to SCS but targets specific peripheral nerves affected by neuropathy. A tiny electrode is implanted near the damaged nerve, delivering electrical pulses to reduce pain. This precise approach has demonstrated significant improvements in pain scores for neuropathy patients. d. Non-Invasive Brain Stimulation (NIBS) Techniques like transcranial magnetic stimulation (TMS) are emerging as potential treatments. By modulating brain activity involved in pain perception, NIBS offers a novel angle for managing chronic neuropathy pain. Regenerative Medicine: A Path Toward Healing Unlike traditional therapies that focus on symptom management, regenerative medicine aims to repair or replace damaged nerve tissue. These therapies represent a paradigm shift in the treatment of diabetic neuropathy. a. Stem Cell Therapy Stem cells, particularly mesenchymal stem cells (MSCs), have shown promise in promoting nerve regeneration. By reducing inflammation, enhancing blood flow, and secreting growth factors, stem cell therapy may restore damaged nerve function. Recent trials have reported reduced pain and improved nerve conduction in patients treated with MSCs. However, accessibility and cost remain significant barriers to widespread use. b. Platelet-Rich Plasma (PRP) Therapy PRP, derived from the patient’s blood, contains growth factors that promote tissue healing. Early research indicates that PRP injections can help repair nerve damage and reduce neuropathy symptoms. c. Exosome Therapy Exosomes are tiny vesicles released by stem cells that carry bioactive molecules like proteins and RNA. These vesicles can target damaged nerves and encourage repair. Exosome therapy is gaining attention for its potential to deliver regenerative benefits without requiring stem cell transplantation. The Role of Diet and Supplements Emerging research highlights the importance of nutrition and supplementation in managing diabetic neuropathy pain. While not stand-alone cures, these interventions can complement medical treatments. a. Alpha-Lipoic Acid (ALA) ALA, a potent antioxidant, has shown efficacy in reducing oxidative stress and improving nerve function. Several studies report significant reductions in pain and tingling with high-dose ALA supplementation. b. N-Acetylcysteine (NAC) NAC, a precursor to the antioxidant glutathione, may protect nerves from damage caused by high glucose levels. Preliminary studies suggest it may improve nerve function and reduce pain. c. Low-Carb, High-Fiber Diets Maintaining stable blood sugar levels is crucial for preventing further nerve damage. Low-carb, high-fiber diets can improve glucose control and reduce inflammation, indirectly supporting nerve health. Research on the Horizon: Promising Developments The future of diabetic neuropathy treatment looks promising, with several cutting-edge research avenues offering hope: a. Nanomedicine Nanotechnology is revolutionizing drug delivery, enabling targeted therapies that minimize side effects. For example, nanoparticles can deliver drugs directly to damaged nerves, increasing efficacy and reducing systemic exposure. b. CRISPR Gene Editing CRISPR technology has the potential to edit genes associated with diabetic neuropathy, correcting the underlying causes of nerve damage. While still in its infancy, this approach could lead to transformative treatments in the coming decades. c. Artificial Intelligence (AI) in Pain Management AI is being used to develop personalized treatment plans, predict disease progression, and identify novel drug targets. By analyzing vast datasets, AI is accelerating the discovery of new
How to Prevent and Reduce Complex Regional Pain Syndrome (CRPS) Pain Author: ItHurts.com A Comprehensive Talk on Complex Regional Pain Syndrome (CRPS) Pain Understanding the Basics: Complex Regional Pain Syndrome (CRPS) is a rare but debilitating condition that causes severe pain, typically in the arms or legs, often following an injury. The pain associated with CRPS is distinct from other forms of pain in both its intensity and complexity. It can disrupt daily life and may significantly affect a person’s physical and emotional well-being. Actionable steps for reducing (CRPS) Pain The pain associated with CRPS is unlike any other. It can be described as an intense burning or aching sensation, often accompanied by a variety of other symptoms such as swelling, changes in skin color, and temperature fluctuations in the affected area. The pain tends to be disproportionate to the initial injury, and it can worsen over time if left untreated. Types of Pain in CRPS – Burning Pain: One of the hallmark symptoms of CRPS is a constant burning sensation, which may feel like the affected limb is on fire. This sensation is often described as more intense than a simple injury or cut. – Throbbing or Aching: Many people with CRPS report a deep aching or throbbing pain, particularly when pressure is applied to the affected area. – Hyperalgesia: This refers to an increased sensitivity to pain. Even mild stimuli, like the touch of clothing or air, can provoke severe pain. – Allodynia: This is a type of pain in which harmless stimuli, such as a light touch, are perceived as painful. – Sharp or Stabbing Pain: Some individuals also experience sharp, stabbing sensations, which can be sudden and intense. Intensity and Location CRPS pain can vary in intensity. It can range from a constant low-level discomfort to unbearable, sharp pain. The pain is typically localized to one limb but may spread to other parts of the body over time. The pain may be accompanied by other symptoms such as muscle weakness, stiffness, and changes in skin color or temperature. Causes of Pain The exact cause of CRPS is not well understood, but it is believed to arise from a malfunction in the nervous system, specifically in how the brain processes pain signals. The pain is often triggered by an injury, such as a sprain, fracture, or surgery, but the intensity and duration of the pain far exceed what would be expected from the injury itself. Physiological and Anatomical Reasons for Cancer Pain – Nerve Compression: When nerves are compressed or irritated, they can send pain signals to the brain that are amplified. This may cause the brain to overreact to even minor sensations, resulting in extreme pain. – Autonomic Nervous System Dysfunction: The autonomic nervous system, which controls involuntary functions like heart rate and blood pressure, can malfunction in CRPS. This dysfunction leads to abnormal blood flow, temperature changes, and sweating in the affected area. – Muscle Imbalance: Over time, CRPS can lead to muscle wasting and weakness, as individuals may avoid using the affected limb due to the pain. This can create further discomfort and increase sensitivity to pain. – Inflammation: Inflammatory processes in the nerves and surrounding tissues contribute to the pain and swelling seen in CRPS. Inflammatory cytokines and other molecules can sensitize pain receptors, making the pain more persistent and widespread. Presentation of the Pain The pain from CRPS is not only intense but also unique in its presentation. It usually manifests after a physical injury, but it often lasts longer than the typical healing period. Treatment and Relief for Existing Pain While CRPS can be difficult to treat, there are numerous strategies and therapies that can help alleviate pain and improve quality of life. These treatments range from lifestyle changes to medical interventions. Exercises and Stretches Regular exercise can help maintain joint mobility and improve circulation, both of which are essential for managing CRPS pain. Here are some beneficial exercises: – Gentle stretching: Stretching can improve flexibility and reduce stiffness. Simple stretches of the affected limb, guided by a physical therapist, can be beneficial. – Strengthening exercises: Once the pain becomes manageable, strengthening exercises for the muscles surrounding the affected area can help restore function and reduce muscle weakness. Holistic Approaches – Mind-body therapies: Techniques such as meditation, mindfulness, and guided imagery can help reduce the perception of pain and promote relaxation. – Acupuncture: Acupuncture may be beneficial for some individuals by stimulating the body’s natural pain-relieving processes and restoring balance to the nervous system. – Biofeedback: This therapy helps individuals gain control over certain body functions, such as heart rate and muscle tension, to better manage pain. Scientific Research on CRPS Pain Recent studies have provided valuable insights into the mechanisms behind CRPS and the most effective treatment strategies. – A study published in *The Lancet Neurology* found that early intervention, including physical therapy and psychological support, can significantly improve outcomes for CRPS patients (Birklein et al., 2018). – Research in *Pain Medicine* (2017) showed that a combination of pharmacologic treatments, nerve blocks, and psychological therapies leads to better pain management and functional recovery for CRPS sufferers. Medical Treatments – Pain Medications: Doctors may prescribe medications like anticonvulsants, antidepressants, or opioids for severe pain management. – Sympathetic Nerve Blocks: This procedure involves injecting anesthetic into the sympathetic nerves to block pain signals. – Physical Therapy: A trained physical therapist can guide patients through exercises aimed at improving mobility and reducing pain. Final Thoughts: CRPS is a complex and challenging condition, but it is possible to manage and even reduce its impact on daily life. By understanding the causes and mechanisms behind CRPS, patients can take proactive steps to alleviate pain and prevent its onset. From medical treatments and physical therapy to self-care techniques and lifestyle changes, there are many strategies available to help individuals live with less pain and greater function. It’s essential to address CRPS early and comprehensively to minimize long-term effects. By incorporating the tips and strategies provided
Easing the Burden: How to Prevent and Reduce Cancer-Related Pain Author: ItHurts.com A Comprehensive Talk on Cancer-Related Pain Understanding the Basics: Cancer-related pain is a profound challenge for millions of individuals worldwide. Whether stemming from the disease itself or as a side effect of treatment, this type of pain can significantly impact the quality of life. However, understanding the nature, causes, and solutions can empower patients and caregivers to take proactive steps toward relief and prevention. This article delves into the types, causes, presentation, treatment, and prevention strategies for cancer-related pain, supported by scientific research. Understanding Cancer-Related Pain Cancer pain can vary widely depending on the type, location, and stage of cancer, as well as the treatments being used. Below are the primary types of cancer pain: – Acute Pain: Sudden, sharp pain often linked to tissue injury or invasive procedures. Intensity may vary, but it typically subsides as healing progresses. – Chronic Pain: Persistent pain lasting weeks, months, or even years, often resulting from tumor growth or nerve damage. Chronic pain is typically deep and achy. – Neuropathic Pain: Caused by nerve damage due to tumor pressure or chemotherapy. This pain is often described as burning, tingling, or stabbing. – Breakthrough Pain: A sudden flare-up of intense pain that “breaks through” regular pain management strategies, lasting minutes to hours. – Bone Pain: When cancer spreads to bones (metastasis), it can cause localized or diffuse aching, often worsened by movement. Understanding these pain types is critical for developing a tailored approach to relief and prevention. Common Causes of Cancer-Related Pain Cancer pain arises from various sources, including: Tumor Pressure: Tumors pressing on bones, nerves, or organs can cause localized or radiating pain. Treatment Side Effects: – Chemotherapy: May damage nerves (chemotherapy-induced peripheral neuropathy). – Radiation Therapy: Can lead to skin irritation, inflammation, or tissue damage. – Surgery: Postoperative pain from tissue damage or scarring. Metastasis: Spread of cancer to bones, liver, or other organs often results in severe pain. Infections or Inflammation: Cancer or its treatment can weaken the immune system, increasing susceptibility to infections that cause pain. Psychological Factors: Stress, anxiety, and depression can amplify pain perception. Physiological and Anatomical Reasons for Cancer Pain The underlying mechanisms of cancer pain include: – Nerve Compression: Tumors pressing on or infiltrating nerves can disrupt signals, leading to sharp or burning pain. – Inflammation: Cancer cells release chemicals that trigger inflammatory responses, causing swelling and pain. – Bone Erosion: Tumors weakening bones may lead to fractures and significant discomfort. – Tissue Damage: Rapid tumor growth can outpace blood supply, causing cell death and pain. Understanding these mechanisms highlights the complexity of cancer pain and emphasizes the need for multifaceted treatment approaches. How Cancer Pain Presents Itself Cancer pain manifests differently depending on the individual and the cancer type. It can present as: – Constant aching in the affected area. – Sudden, intense spikes in pain (breakthrough episodes). – Burning, tingling, or numbness indicating nerve involvement. – Sensitivity to touch or movement. – Deep, gnawing pain within bones or joints. Keeping a pain journal to document intensity, triggers, and relief methods can aid healthcare providers in designing effective pain management strategies. Turning Menstrual Pain into Empowerment Cancer pain relief requires a combination of medical, physical, and holistic interventions. Below are evidence-based approaches: Medical Treatments: – Medications: – Over-the-counter (OTC) analgesics like acetaminophen or ibuprofen for mild pain. – Opioids (e.g., morphine, oxycodone) for moderate to severe pain. – Adjuvant medications like antidepressants or anticonvulsants for neuropathic pain. – Nerve Blocks: Injections that block nerve pain signals for localized relief. – Palliative Radiation Therapy: Reduces pain by shrinking tumors pressing on nerves or bones. Physical Interventions: – Exercise: Gentle stretching and low-impact exercises, such as yoga or tai chi, improve blood flow and reduce stiffness. – Physical Therapy: Guided therapy sessions can target specific pain areas to enhance mobility and alleviate discomfort. – Massage Therapy: Helps reduce muscle tension and promote relaxation. Holistic Approaches: – Acupuncture: Effective in reducing chemotherapy-induced neuropathy. – Mind-Body Techniques: Meditation, deep breathing, and progressive muscle relaxation can reduce stress-induced pain. – Herbal Remedies: Turmeric and ginger have anti-inflammatory properties, though consultation with a physician is essential before use. Final Thoughts: Cancer-related pain is a complex, multifaceted challenge that requires a comprehensive and compassionate approach. By understanding the types, causes, and mechanisms behind this pain, patients and caregivers can seek timely interventions to alleviate discomfort. Advances in medical treatments, combined with holistic and preventive strategies, offer hope for managing and reducing cancer pain effectively. Taking proactive steps, such as maintaining open communication with healthcare providers, practicing a healthy lifestyle, and exploring integrative therapies, empowers individuals to improve their quality of life despite a cancer diagnosis. Call to Action: If you or a loved one are experiencing cancer-related pain, consult your healthcare provider for a tailored pain management plan. Remember, relief is possible, and you don’t have to face this journey alone. References [^1^] Smith TJ, Temel JS. “Palliative Care in Oncology.” *The Lancet Oncology*. 2021. [^2^] Carlson LE. “CBT and Cancer Pain.” *Pain Medicine*. 2020. [^3^] Andrews P, et al. “Neurostimulation for Cancer Pain.” *Journal of Pain Research*. 2023. ItHurts.com is your ally in your endeavor to live pain-free. We offer guidance, resources, and community support to address chronic pain, emotional stress, and physical discomfort. Discover insightful articles, product reviews, recommendations and shared experiences to empower your journey to better health. Remember, if it hurts, we can help! Related Products Buy Now Urban ReLeaf Chemo Relief & Side Effects Aromatherapy ! Fast Help ! Soothe Upset Stomach , Queasy ! 100% Natural Essential Oils ! Buy Now Radiation Relief & Recovery Cream, 6 FL Oz (Pack of 1) | Hyaluronic Acid, Ceramides, Peptides, Healing Calendula | Soothe Sensitive, Irritated Skin | Unscented Buy Now Oncology Body Cream with Botanicals by PhysAssist, 4 oz. (Pack of 1) | Oils of Lavender, Calendula, Peppermint Related Blogs Top 10 “Chemo & Radiation Relief” Products for People with Cancer: A Comprehensive Review Read
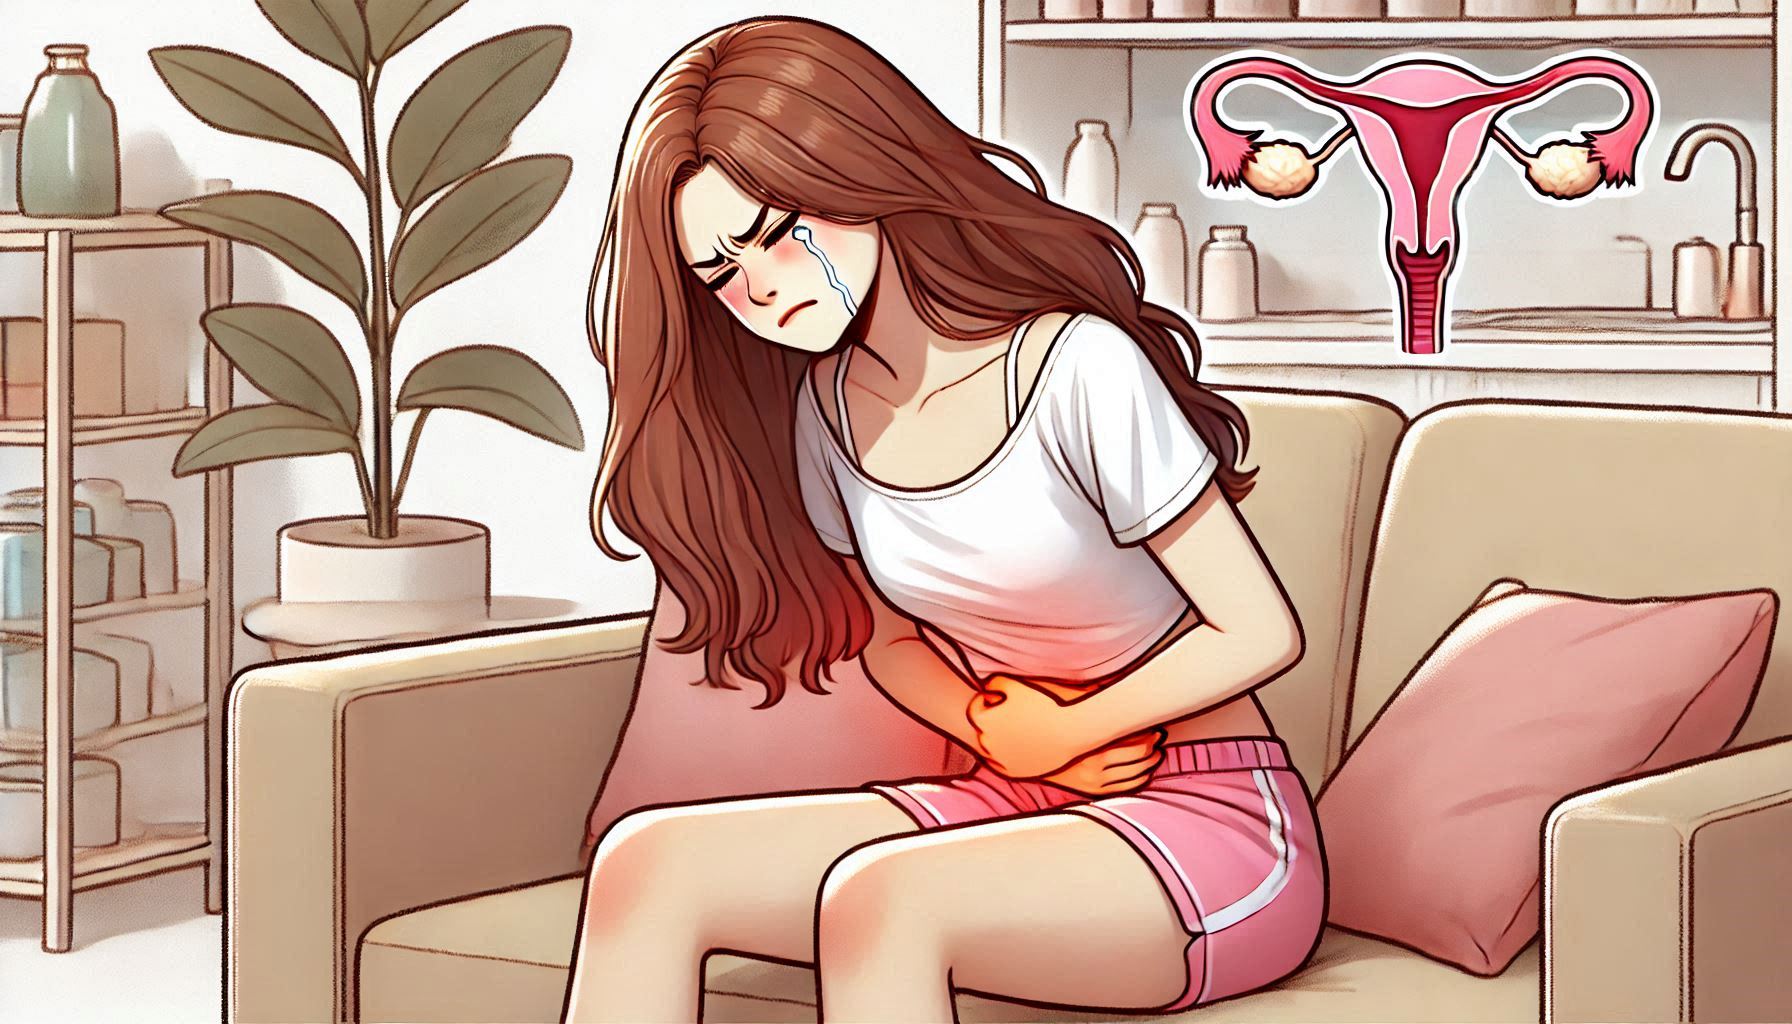
Cramp It! How Menstrual Pain Can Hijack the Best Moments of Your Life Author: ItHurts.com A Comprehensive Talk on Menstrual Pain Understanding the Basics: Menstrual cramps. Just reading those words might make some of you want to groan in shared frustration. For those who experience them, they’re not just a mild inconvenience—they can be an all-out assault on your plans, productivity, and peace of mind. Whether it’s a long-anticipated vacation, a professional milestone, or even a cozy weekend at home, menstrual cramps have a sneaky way of derailing the best-laid plans. This article dives deep into why menstrual cramps can feel like such a life-ruiner, explores some of the science behind them, and offers strategies to reclaim your fun even when your uterus seems to have other plans. Why Menstrual Cramps Feel Like a Personal Sabotage Menstrual cramps, clinically known as dysmenorrhea, can range from mild discomfort to full-blown agony. These cramps occur when your uterus contracts to shed its lining, triggered by hormone-like chemicals called prostaglandins. The higher the prostaglandin levels, the more severe the cramps can be. While this process is natural, it doesn’t feel fair. Here’s why menstrual cramps feel especially disruptive: 1. The Timing Is Never Convenient It’s like your uterus has a sixth sense for when you’ve planned something amazing. Going to a beach party? Get ready for bloating and lower back pain. Finally taking that much-needed vacation? Cue the cramps during the flight. Whether it’s weddings, dates, or sports events, periods often seem to arrive at the worst possible moment. 2. It’s More Than Just Physical Pain Menstrual cramps don’t travel alone. They often bring along fatigue, nausea, headaches, and mood swings, turning an already unpleasant experience into a full-body ordeal. The mental fog can make it hard to enjoy even the simplest pleasures, like reading a book or watching your favorite show. 3. Society’s Expectations Don’t Help Many of us are expected to soldier through pain as if nothing’s wrong. But menstrual cramps aren’t something you can just “power through.” This societal pressure to hide your discomfort can make the experience even more isolating. 4. FOMO Is Real The fear of missing out (FOMO) becomes palpable when cramps confine you to bed while your friends are out enjoying themselves. Social media only amplifies this feeling as you scroll through photos of events you had to skip. Stories of Fun Hijacked by Cramps To highlight the universal struggle, here are some real-life scenarios of menstrual cramps crashing the party: The Vacation Wrecker “I spent months saving for a tropical getaway, only to spend the first three days curled up in my hotel bed with a heating pad. The pictures my friends took at the beach were gorgeous. I wish I had been there to enjoy it.” The Office Hero Turned Couch Potato “I had a major presentation at work, but I was so bloated and crampy that I could barely focus. My usual sharp wit was replaced with fumbling through slides and praying for it to end.” The Wedding Wipeout “I was a bridesmaid for my best friend’s wedding, but I spent most of the day popping ibuprofen and trying to look cheerful through the pain. I couldn’t even enjoy the dance floor.” Science of the Pain: Why It’s So Intense The intensity of menstrual cramps varies, but they’re generally classified into two categories: Primary Dysmenorrhea: Pain caused directly by the menstrual cycle, often peaking in adolescence and early adulthood. This type is tied to prostaglandin levels. Secondary Dysmenorrhea: Pain caused by underlying medical conditions such as endometriosis, fibroids, or pelvic inflammatory disease. This type can be more chronic and severe. The pain isn’t just physical; it’s also tied to your brain. Hormonal fluctuations during your period can affect serotonin levels, contributing to mood swings and amplifying your perception of pain. It’s a vicious cycle: physical pain triggers emotional distress, which can make the cramps feel even worse. How to Take Back Control While cramps might seem determined to ruin your plans, there are effective ways to fight back. Here are some strategies to minimize their impact: 1. Prevention Is Key Exercise Regularly: Studies suggest that regular physical activity can reduce the severity of menstrual cramps. Dietary Changes: Incorporate anti-inflammatory foods like leafy greens, berries, and omega-3-rich fish while reducing caffeine, sugar, and processed foods. Hydration: Staying well-hydrated can help alleviate bloating and cramping. 2. Medication and Supplements Over-the-counter pain relievers like ibuprofen or naproxen can be lifesavers. Supplements like magnesium, vitamin B6, and omega-3 fatty acids may reduce cramps over time. If OTC medications aren’t cutting it, talk to your doctor about prescription options or hormonal birth control methods. 3. Heat Therapy Applying a heating pad to your lower abdomen can provide immediate relief. Some people swear by heated wraps or hot water bottles for on-the-go comfort. 4. Relaxation Techniques Yoga and Stretching: Gentle yoga poses can help relax the muscles and reduce pain. Meditation: Mindfulness meditation can help manage pain perception. Aromatherapy: Scents like lavender and peppermint can have a calming effect. 5. Track Your Cycle Knowing when your period is coming allows you to plan ahead. Apps like Clue or Flo can help you predict your cycle and prepare for any upcoming events. 6. Consider Professional Help If your cramps are severe enough to regularly disrupt your life, it’s time to consult a healthcare provider. Conditions like endometriosis or fibroids could be the culprits and may require medical intervention. Turning Menstrual Pain into Empowerment One of the most empowering things you can do is acknowledge your pain and advocate for yourself. Here are a few ways to reclaim control over your narrative: Normalize the Conversation: Talk openly about menstrual pain with your friends, family, and colleagues. This helps break the stigma and fosters a supportive environment. Advocate for Better Products: Period pain relief is a growing industry. Share your feedback on menstrual pain products to encourage innovation. Lean on Your Community: Online forums, social media groups, and friends who understand
Calming the Storm: Managing Interstitial Cystitis/Bladder Pain Syndrome Author: ItHurts.com A Comprehensive Talk on Interstitial Cystitis/Bladder Pain Syndrome Understanding the Basics: Interstitial Cystitis (IC), also known as Bladder Pain Syndrome (BPS), is a chronic condition that affects millions of people worldwide. Characterized by bladder pressure, pelvic pain, and frequent urination, this condition can significantly impact your quality of life. While there’s no known cure, various strategies can help manage symptoms and improve day-to-day well-being. This guide explores the condition in-depth, offering practical advice, treatments, and lifestyle changes to help those living with IC/BPS reclaim their comfort. Understanding Interstitial Cystitis/Bladder Pain Syndrome IC/BPS is a persistent bladder condition that causes chronic pain and discomfort. Symptoms vary widely among individuals, but common complaints include: Pain and Pressure: Persistent discomfort in the bladder, pelvis, or lower abdomen. Frequent Urination: The urge to urinate more than normal, often in small amounts. Nocturia: Waking up multiple times during the night to urinate. Pain During Sex: For some, IC can make intimacy uncomfortable or painful. What Causes IC/BPS? The exact cause remains unclear. Some researchers believe it might result from a defect in the bladder lining, while others suggest that autoimmune disorders, allergies, or pelvic floor dysfunction could play a role. What is clear, however, is that the condition is not caused by infection, and it cannot be treated with antibiotics. Who Is at Risk? IC/BPS is more common in women than men, though men can also be affected. Risk factors include: A history of urinary tract infections. Stress, which can exacerbate symptoms. Coexisting conditions like fibromyalgia, irritable bowel syndrome (IBS), or endometriosis. Finding Relief: Managing Symptoms of IC/BPS 1. Work with Your Healthcare Provider The first step in managing IC/BPS is obtaining a proper diagnosis and working closely with a healthcare provider. A urologist or urogynecologist is typically well-equipped to help. Medical treatments may include: Medications Pentosan Polysulfate Sodium (Elmiron): The only FDA-approved oral medication for IC/BPS, thought to help restore the bladder lining. Antihistamines: For those whose IC is triggered by allergic reactions. Tricyclic Antidepressants: Such as amitriptyline, which can help relax the bladder and reduce pain. Pain Relievers: Over-the-counter or prescription-strength options. Bladder Instillations In-office treatments involve placing medication directly into the bladder via a catheter. These therapies may help reduce inflammation and provide localized pain relief. Nerve Stimulation Techniques such as sacral nerve stimulation or transcutaneous electrical nerve stimulation (TENS) may help manage pelvic pain and urinary frequency. 2. Adjust Your Diet Diet plays a significant role in IC/BPS symptom management. Many patients find that certain foods and beverages trigger flares. While triggers vary, common culprits include: Caffeine and Alcohol: Both are diuretics that can irritate the bladder. Citrus Fruits: Their high acidity can exacerbate symptoms. Spicy Foods: Often lead to bladder irritation. Artificial Sweeteners: Known to cause bladder sensitivity. The IC Diet Start with an elimination diet to identify your triggers. Gradually reintroduce foods to determine what works for you. Focus on bladder-friendly options like: Low-acid fruits (e.g., blueberries, pears, and watermelon). Vegetables like zucchini and green beans. Proteins such as chicken, turkey, and eggs. Whole grains like oatmeal and rice. Hydration is also critical. Stick to plain water or herbal teas to keep the bladder calm. 3. Practice Stress Management Stress and IC/BPS often form a vicious cycle: stress exacerbates symptoms, and symptoms cause more stress. Incorporating stress management techniques into your routine can make a noticeable difference. Mindfulness and Meditation Mind-body practices such as meditation, deep breathing, or guided imagery can help reduce tension and improve pain perception. Exercise Gentle, low-impact activities like yoga, tai chi, or swimming can reduce stress without putting undue pressure on the bladder or pelvic floor. Seek Support Living with IC/BPS can feel isolating, but connecting with others who understand your experience can be empowering. Look for support groups, whether in-person or online. 4. Explore Physical Therapy Pelvic floor dysfunction is a common contributor to IC/BPS symptoms. A trained pelvic floor physical therapist can teach techniques to: Release tension in the pelvic muscles. Improve posture to reduce bladder pressure. Use biofeedback to retrain muscle patterns. 5. Complementary Therapies Some individuals find relief from alternative treatments. While results vary, these options are worth exploring: Acupuncture: May help relieve pelvic pain by stimulating specific points in the body. Herbal Remedies: Supplements like quercetin or marshmallow root have anti-inflammatory properties. Heat Therapy: Applying a heating pad to the lower abdomen can soothe pain and relax muscles. 6. Lifestyle Changes to Manage Symptoms Daily habits significantly influence how IC/BPS manifests. Consider these tips: Bladder Training Train your bladder to hold more urine by gradually increasing the time between bathroom visits. This method requires patience but can improve urgency and frequency over time. Avoid Tight Clothing Tight jeans or belts can put unnecessary pressure on the bladder and pelvic region. Opt for loose, comfortable clothing instead. Plan Ahead IC/BPS can make traveling or social outings stressful. Prepare by knowing where restrooms are located and carrying symptom management essentials like water, heat packs, or medications. 7. Stay Informed Research on IC/BPS is ongoing, and new treatments and therapies are emerging. Stay informed by following reputable organizations like the Interstitial Cystitis Association (ICA) or speaking with your healthcare provider about clinical trials. When to Seek Help While managing IC/BPS is often a trial-and-error process, some situations warrant immediate attention: Severe or worsening pain. Blood in the urine (hematuria). Symptoms that interfere with your ability to work or perform daily activities. A tailored treatment plan can make all the difference. Don’t hesitate to reach out to a healthcare provider if your current management strategies aren’t working. Final Thoughts: Though living with IC/BPS can be challenging, you’re not powerless against it. A combination of medical care, lifestyle changes, and a supportive community can help you regain control and reduce the impact of this condition on your life. Final Thoughts If you’re struggling with IC/BPS, remember you’re not alone. Many others face the same challenges and have found relief through persistence and exploration.
